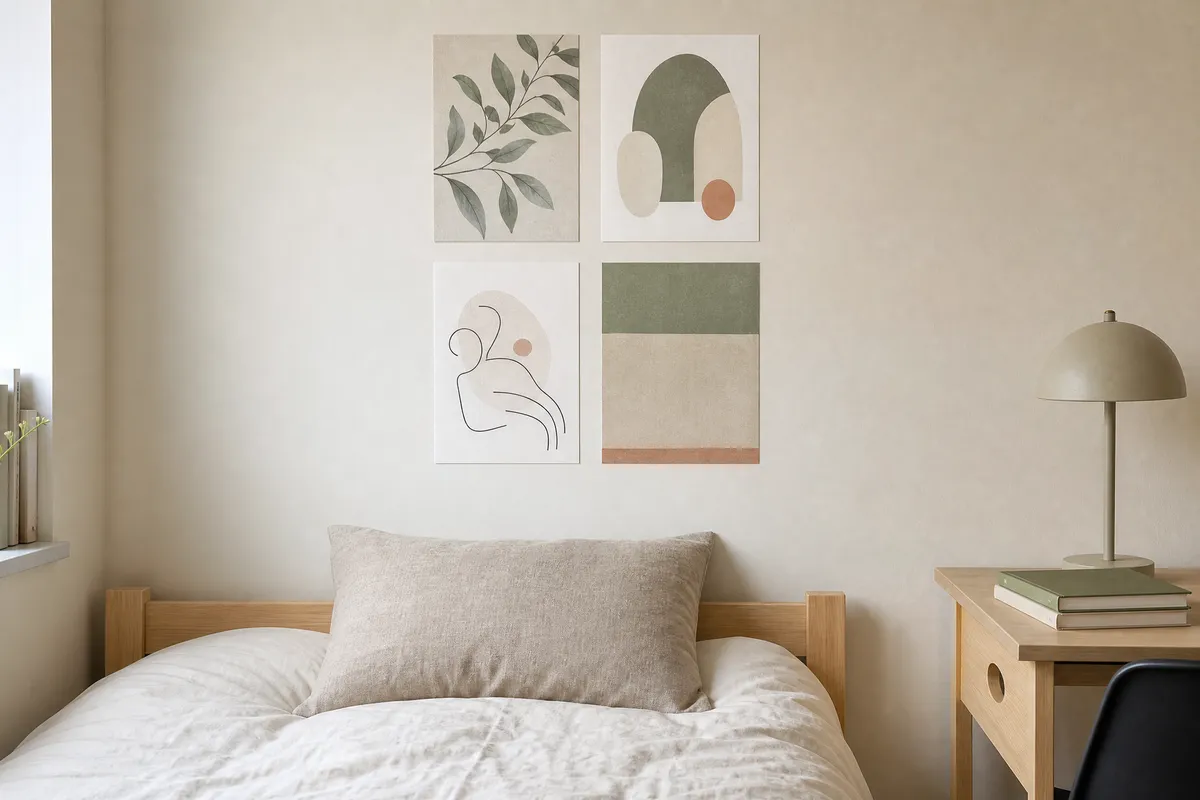
Start with your housing policy, not with the wall
Before anything else: read what your accommodation actually permits. Many halls restrict or prohibit wall fixings, and a fair number are specific about adhesives too, but the rules genuinely differ between institutions and even between buildings on the same campus. Some allow removable strips, some allow nothing on painted plasterboard at all, some supply a picture rail or a pinboard precisely so you do not use the wall.
Nobody can tell you your rule from the outside, and a blog post that claims to is guessing. Find the housing handbook, search it for “wall”, “adhesive” and “damage”, and decorate inside whatever it says. If the policy forbids adhesives outright, skip to the no-wall-contact section near the end — that whole approach exists for exactly this case.
What actually damages a dorm wall
Three separate failure modes, and they call for different responses.
The first is the fixing itself. Nails and screws leave holes that need filling and repainting, which is the standard deduction on a move-out inspection.
The second is the adhesive bond, and this is the one that costs people money. Removable strips and pads are engineered to release cleanly when you pull them the way the instructions say. Pulled the wrong way, or left far past their intended life, or applied to a surface they were never meant for, they can lift paint or the paper layer of plasterboard — a much more expensive repair than a nail hole.
The third is weight. Every adhesive product has a stated weight limit, and the limit assumes a clean, dry, fully cured application. Exceed it and the piece does not fail gently; it comes off the wall at three in the morning, usually bringing some paint with it.
We are deliberately not printing weight figures here. Ratings differ by product, by size and by market, and the only number that applies to your wall is the one on the pack in your hand. Weigh the framed piece, read the pack, and stay comfortably under what it claims rather than at the edge of it.
What size fits above a dorm bed?
Most dorm beds are a single or a long single, and the wall above one is narrower than people assume once you account for the bed not being centred and a desk crowding one side.
The workable guideline is the same one that governs art over any bed: the arrangement should span roughly two-thirds of the bed width, and it should sit as a block rather than drifting across the whole wall.
| Bed width | Target span for the arrangement | What that looks like in practice |
|---|---|---|
| 90 cm (standard single) | about 60 cm | one A3 landscape, or two A4 prints side by side |
| 100 cm | about 65 cm | two A4 portraits with a small gap, or one A3 |
| 120 cm (small double, some halls) | about 80 cm | three A4 prints in a row, or a two-by-two block of A5 |
Height matters as much as width. Hang the bottom edge of the lowest piece roughly 20 to 25 cm above the headboard or the top of the mattress, so the art reads as belonging to the bed rather than floating separately. In a room with a low ceiling — common in older halls — err lower still.
Print sizes in centimetres
Two systems, and mixing them up is the most common reason a print does not fit its frame.
The ISO 216 A-series, which is genuinely metric:
| Paper size | In centimetres |
|---|---|
| A5 | 14.8 × 21.0 cm |
| A4 | 21.0 × 29.7 cm |
| A3 | 29.7 × 42.0 cm |
| A2 | 42.0 × 59.4 cm |
And frames sold in inches, converted exactly at 1 inch = 2.54 cm:
| Frame size | In centimetres |
|---|---|
| 5 × 7 in | 12.7 × 17.8 cm |
| 8 × 10 in | 20.3 × 25.4 cm |
| 11 × 14 in | 27.9 × 35.6 cm |
| 16 × 20 in | 40.6 × 50.8 cm |
An A4 print is 21.0 × 29.7 cm and an 8 × 10 inch frame is 20.3 × 25.4 cm. They are close enough to look interchangeable in a listing and far enough apart that the print will not fit. Decide which system your frames use before you print.
For a dorm wall, A4 and A5 do most of the work. A3 is the largest size worth attempting on an adhesive fixing for a first-year room, and only for something light.
Keep the weight down, and the frame choice does that
Frame choice matters more here than the adhesive does, because it determines what the adhesive has to hold.
No frame at all. A print hung directly with removable putty at the corners, or clipped to a length of cord, weighs almost nothing and cannot fall dangerously. It also reads as deliberately casual rather than cheap, provided the print itself is well chosen and the edges are cut cleanly.
Thin frames with acrylic glazing. If you want frames, this is the combination that keeps a piece light. Glass is the heavy component in almost every frame — a poster-style frame with acrylic instead can weigh a fraction of the glazed version at the same size.
Poster hangers. Two slim wooden or magnetic strips at the top and bottom edge. Light, no glazing, and they handle a long narrow print better than a frame does.
Avoid anything with a chunky moulding, a mount board and real glass. That combination at A3 is heavy enough that most adhesive fixings are the wrong tool for it.
A starter set of four prints beats a full gallery wall
The instinct in a small room is to fill the wall. It works against you. A dense gallery wall in a 3 by 4 metre room reads as clutter, and every additional piece is another thing to remove in August.
Four prints is a good number. Enough to feel considered, few enough to arrange in an afternoon and take down in twenty minutes.
Two directions that work in a dorm without much effort:
Quiet and neutral. Muted botanicals, line drawings, soft abstract shapes in sage, oatmeal, warm grey and off-white. This is the safer choice in a room you did not pick the furniture for, because it does not fight whatever the institution’s beige is. It also photographs well, which matters more than anyone admits.
One loud piece, three quiet ones. A single graphic print — a bold poster, a strong colour field, a piece of type — with three restrained prints around it. The loud piece does the personality; the quiet ones stop it becoming a dorm-room cliché.
Whichever you choose, keep the palette to three or four colours across the whole set. Coherence is what separates a considered wall from a collection of things that happened.
Lay it out on the floor first
Put the prints on the floor in the arrangement you are considering and look at it from standing height before anything touches the wall. Move things. Look again.
For a block of four, keep the gaps consistent at roughly 4 to 6 cm and treat the whole group as one rectangle with a straight outer edge. That single rule does more for the result than any amount of individual placement fiddling, and it is much easier to achieve on the floor than on a wall where every adjustment costs you an adhesive strip.
Once you are happy, photograph the floor layout. You will not remember the exact spacing when you are holding a print against the wall.
The removal step people get wrong
This is where deposits are lost, and it is entirely avoidable.
Adhesive strips and pads have a release method, and it is almost never “pull the frame away from the wall.” Most are designed to be released by pulling a tab slowly straight down, parallel to the wall, stretching the adhesive until it lets go. Pulling outward instead concentrates the force on the paint layer, which is exactly how plasterboard paper tears.
Three things that make removal go well. Read the removal instructions on the pack when you put the strips up, not in August when the packaging is long gone — photograph them. Take pieces down slowly and in daylight, when you are not rushing to vacate. And if a strip resists, warming it gently makes the adhesive more compliant rather than forcing it.
Removable putty is more forgiving on removal but can leave an oil mark on some painted surfaces over a long period, so it suits a term rather than a full year in one spot.
If your building allows nothing on the walls at all
Some do not, and the whole approach changes rather than the ambition.
Lean, do not hang. Prints in light frames leaning on a desk, a shelf, a windowsill or the top of a wardrobe. Overlap two at slightly different sizes and it looks intentional.
Use the furniture. The back of a door, the side of a wardrobe and the front of a desk hutch are usually not covered by wall rules, though check that too.
Freestanding. A slim floor easel, a tabletop clipboard, or a length of cord strung between two existing fixtures with prints pegged to it.
Fabric. A pinboard or a stretched textile you are permitted to stand or lean gives you a surface you own, which you can then pin into freely.
None of these are a compromise so much as a different look, and the leaning arrangement in particular tends to age better than a wall of adhesive fixings that are slowly losing their grip through a damp winter.
Pin this guide
Worth saving before move-in week — the bed-width spans and the A-series to inch conversions are the two things you will want in front of you when you are choosing what to print.

Pin 1 of 2 — save to Pinterest 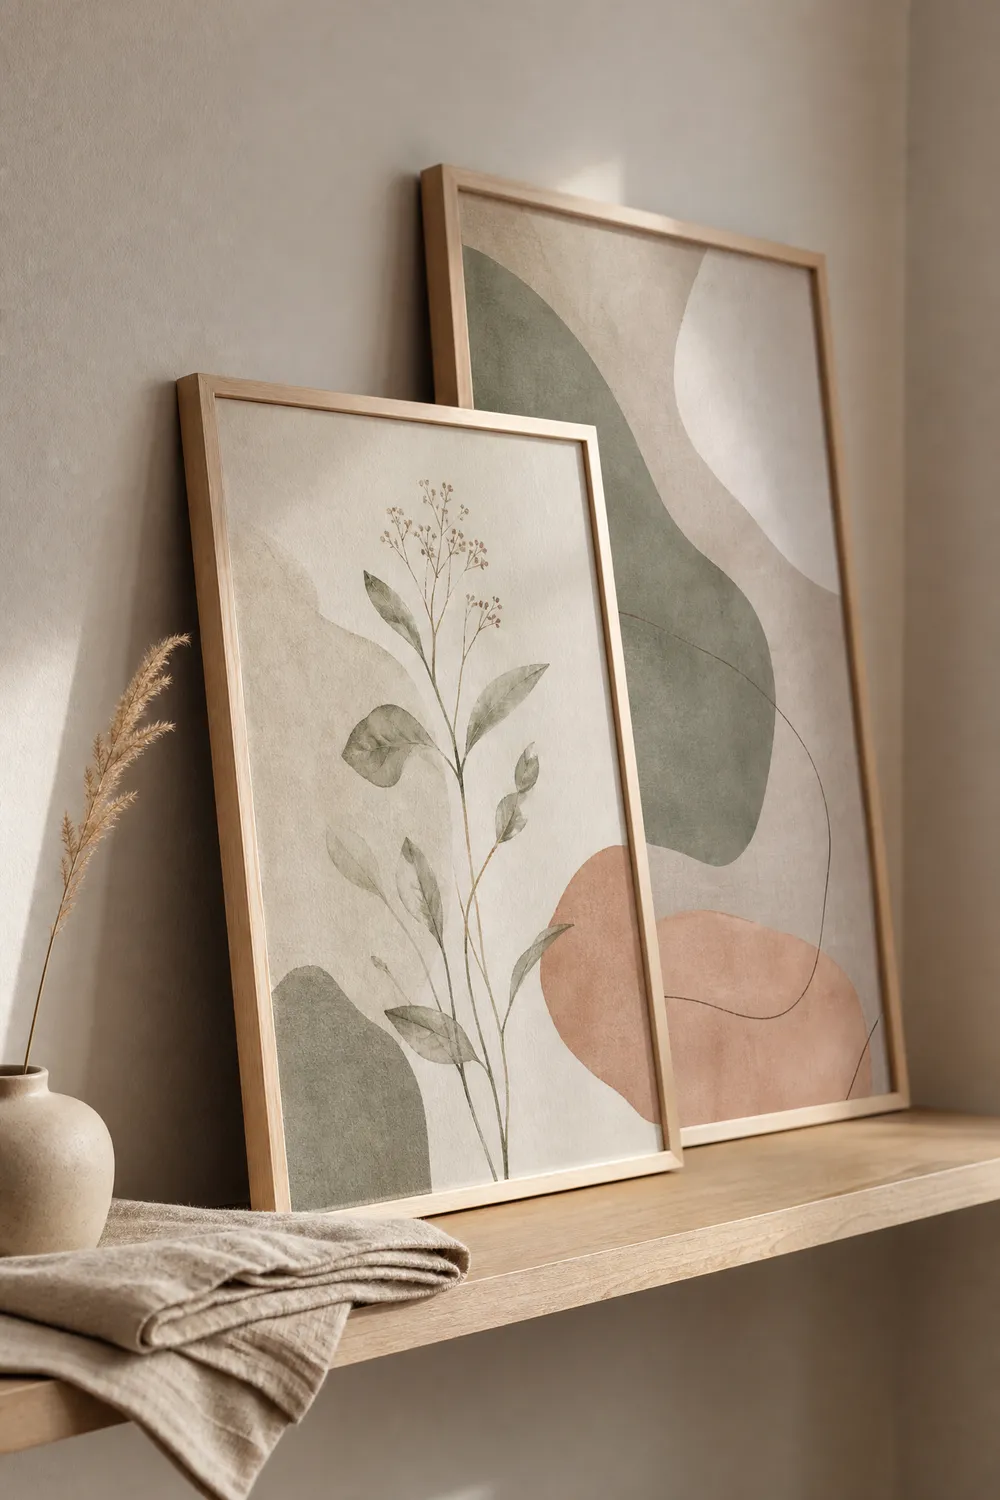
Pin 2 of 2 — save to Pinterest